
Every branding project we take on at Battle of the Bit starts the same way: before a single logo sketch exists, we build a mood board for brand identity. Not a random Pinterest dump, but a structured visual argument that says this is the direction, and here is why it fits your business.
Most articles about mood boards stop at “collect images you like”. That is not a process, and it is not what gets a direction approved by a nervous client who has to justify the spend to a board or a business partner. Below is the actual working method our designers follow, from the client questionnaire through to handling revision rounds without watering the concept down to grey mush.
What a Brand Identity Mood Board Actually Is (and Isn’t)
A mood board for brand identity is a curated collection of visual references, colour, texture, typography, photography, materials and composition, assembled to define the emotional and aesthetic territory a brand will live in. It is a decision-making tool, not decoration.
It exists to do three jobs:
- Align expectations before expensive design hours are spent
- Convert vague adjectives like “premium but approachable” into something you can point at
- Give the designer constraints, because a brief without visual boundaries produces scattered work
What should not appear on a mood board
This comes up constantly, so here it is plainly. Keep these off the board:
- Finished logos, especially competitor logos. The moment a client sees a logo on the board, they start critiquing marks instead of moods.
- Screenshots of other agencies’ branding case studies from Dribbble or Behance. It signals you are copying an outcome rather than defining a territory.
- Images you cannot explain. If you cannot say in one sentence why it is on the board, delete it.
- Too many images. Forty images is not a board, it is a mood swamp.
- Actual layout mockups of the client’s future website. That is a design comp, not a mood board, and it collapses the two conversations into one.
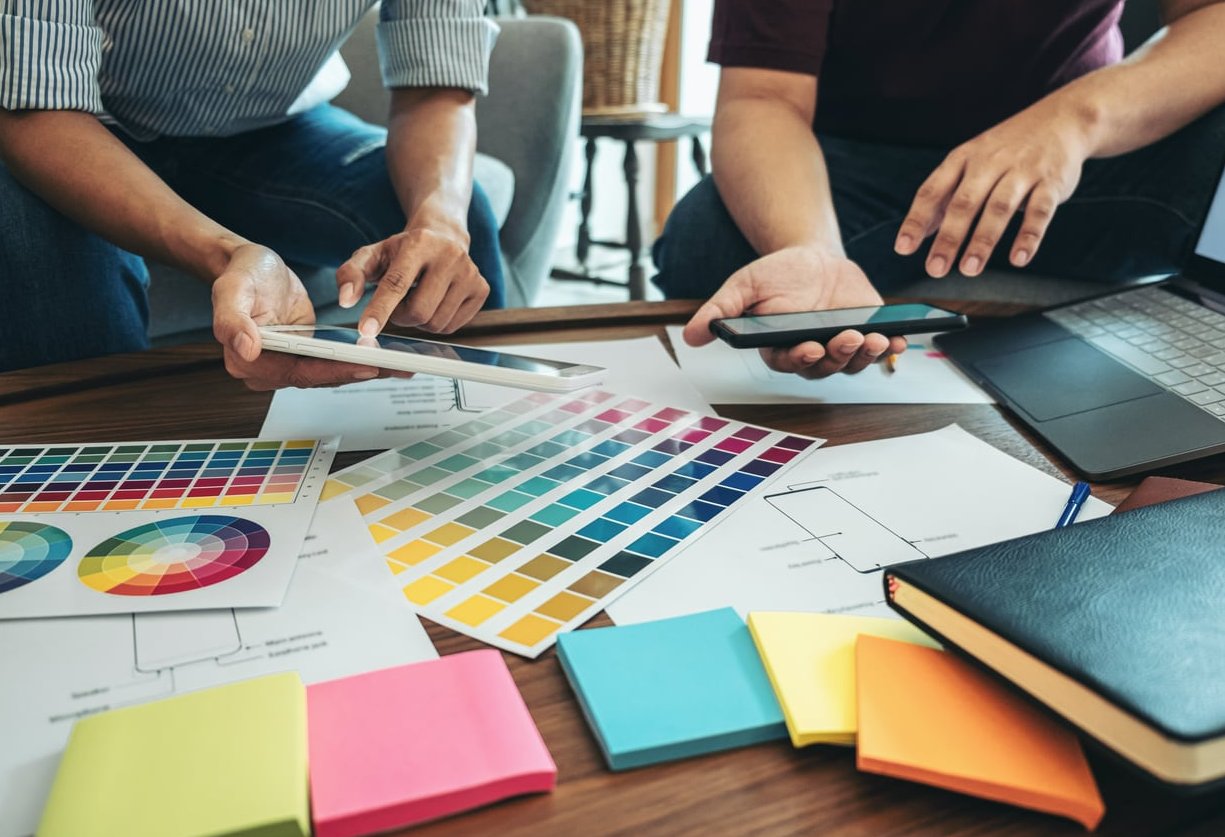
The 7-Step Mood Board Creation Process
Step 1: Mine the Client Questionnaire for Visual Cues
The brief is the raw material. Our questionnaire is deliberately built so that the answers translate into visual decisions. We are not asking “what colours do you like”, because personal taste and brand strategy are different things. See canva.com for their take.
The questions that actually generate usable cues:
- If your brand walked into a room, how would people describe it before it spoke? Produces adjectives with a posture attached.
- What three brands, in any industry, do you admire and why? The “why” matters more than the brand named.
- What would be embarrassing for your brand to look like? Negative space in the brief is gold. Clients articulate what they hate far more precisely than what they want.
- Who is the customer and what are they doing five minutes before they encounter you? Context shapes contrast, density and tone.
- What price position are you defending? Premium, accessible and disruptive all have different visual vocabularies.
Then we do the translation pass. Every adjective gets converted into concrete visual attributes, written out before any image searching begins.
| Client says | Possible visual translation | Question to confirm |
|---|---|---|
| “Premium” | Generous white space, restrained palette, high contrast typography, tactile materials | Premium like a Swiss watch or premium like a boutique hotel? |
| “Approachable” | Rounded forms, warm neutrals, candid photography, mid-weight sans | Friendly-professional or playful-casual? |
| “Bold” | Saturated accent colour, heavy display type, cropped imagery, strong grid breaks | Bold in colour, in scale, or in message? |
| “Trustworthy” | Stable symmetry, cooler tones, clear hierarchy, minimal ornamentation | Institutional trust or human trust? |
| “Not corporate” | Asymmetry, texture, imperfection, hand elements, off-palette neutrals | Which corporate brand specifically annoys you? |
This table becomes a shared document with the client. It is the first small approval, and it makes the board that follows feel inevitable rather than arbitrary.
Step 2: Write the Direction Statement Before Opening Any Image Tool
This is the step most designers skip, and it is the reason so many boards look like nice wallpaper with no argument behind them.
Before sourcing anything, we write one paragraph of no more than forty words per direction. Example format:
Direction A: Quiet Authority. Restrained, editorial and confident. Deep ink tones with a single warm accent, high contrast serif paired with a neutral grotesque, generous negative space, photography that is composed rather than candid.
Every image that later goes on the board must serve that paragraph. If an image is beautiful but does not support the sentence, it goes in the reject pile. This single rule is what stops boards from drifting.
Step 3: Source References Without Copying Competitors
Here is the trap. You research the client’s sector, absorb the sector’s visual clichés, and produce a board that looks like every other brand in that market. The client approves it because it feels familiar, and six months later they have a brand nobody remembers.
Our sourcing rules:
- Audit competitors first, then close the tab. We build a separate competitor grid, purely to know what to avoid. It never goes on the mood board. It goes in the strategy deck as a “visual white space” slide showing where the market is crowded.
- Source outside the sector. A dental clinic board might pull from Japanese ceramics, medical illustration and Scandinavian interiors. A fintech board might pull from architecture and printmaking. Cross-category sourcing is where distinctiveness comes from.
- Use primary sources over design galleries. Photography archives, museum collections, architecture publications, product photography, textile and material libraries, packaging in physical shops. Design galleries give you trends. Primary sources give you ideas.
- No other designers’ finished identity work. We do not put a Behance branding case study on a client board. If we admire a specific execution, we deconstruct it: what is the actual attribute, is it the contrast ratio, the letterform width, the crop? Then we find a non-design reference that carries the same attribute.
- Shoot or make some of it yourself. Even three original photos of paper stock, fabric, or a texture on a wall raises the perceived value of a board enormously and removes licensing risk.
- Log the sources. Keep a spreadsheet of every image URL and licence status. In 2026, with AI-generated imagery and tightened stock enforcement, a board that quietly leaks unlicensed assets into a brand guideline is a real liability.
A note on AI-generated imagery
We use AI image tools for rapid texture exploration and for filling gaps when we cannot find a reference for a specific mood. We do not use it as the majority of a board. Generated imagery tends toward an averaged aesthetic, and a mood board built mostly from averages produces a brand that looks like everyone. Anything AI-generated on our boards is labelled as such so nobody mistakes it for a sourced photograph.
Step 4: Cluster the Imagery Into Colour, Texture and Typography
An unclustered board is a collage. A clustered board is a specification. We build every board in four defined zones, and we label them. Related reading: Using Mood Boards when designing a brand identity.
| Cluster | What goes in it | Target count |
|---|---|---|
| Colour | Swatch strip pulled from the imagery, plus 2 to 3 photos showing the palette in real-world context and lighting | 4 to 6 swatches |
| Texture and material | Paper, stone, fabric, grain, print finishes, surface close-ups. Defines the tactile promise of the brand | 3 to 5 images |
| Typography | Type specimens set in the client’s own words, not in Latin filler. Show a pairing, a weight range and one detail crop | 2 to 3 specimens |
| Imagery and composition | Photography style, crop behaviour, subject treatment, negative space, layout rhythm | 4 to 6 images |
Setting type specimens in the client’s real words is the single highest-impact trick in this whole process. A client who sees their own tagline set in a high contrast serif immediately understands the decision. The same specimen in placeholder text means nothing to them.
Layout craft that makes clients take the board seriously
- Use one consistent gutter throughout. Uneven spacing reads as sloppiness and undermines trust in every other decision.
- Vary image scale deliberately: one hero image per cluster, supporting images smaller.
- Keep the board background neutral. A coloured board background biases the whole palette read.
- Label the clusters with small, quiet captions. Not on top of images.
- Between 12 and 18 images total. Beyond that, the client stops seeing a direction and starts seeing options.
Step 5: Build Two or Three Distinct Directions, Never One and Never Five
One board leaves the client with a yes or no and no vocabulary to discuss it. Five boards makes them a curator and you an order taker.
We present two or three directions, and they must be genuinely different, not the same idea in three colourways. Each direction needs a name, a direction statement and a one-line strategic rationale tying it back to a business objective from the brief.
Our typical spread on a naming and identity project:
- The safe-but-elevated direction: closest to sector expectations, executed better than anyone in the market
- The differentiation direction: sits in the visual white space the competitor audit revealed
- The stretch direction: the boldest defensible option, included because clients often approve more courage than they ask for in a brief
Be honest internally: we always know which one we recommend. We say so out loud in the presentation. Clients hire us for a point of view, and neutrality reads as indifference.
Step 6: Present the Board Properly (This Is Where Projects Are Won or Lost)
Never email a mood board as a bare attachment. A board without narration will be judged as decoration and picked apart on personal taste. Present it live, on a call or in the room, and control the sequence.
The presentation running order we use
- Restate the brief in their words. Two minutes. Read back the objectives and the adjectives they gave us. This proves we listened and it sets the criteria for judging what follows.
- Show the competitor white space slide. Establishes what we are avoiding and why.
- Reveal one direction at a time. Never put all three on screen simultaneously. Talk through the direction statement first, then the board, then the clusters.
- Explain three specific decisions per board. “The palette leans warm neutral because your customers encounter you at the end of a stressful day.” Rationale beats adjectives.
- State your recommendation and why.
- Ask structured questions, not “what do you think?”
The questions to ask instead of “do you like it?”
- Which of these boards would your best customer be drawn to, not which do you personally prefer?
- Which board would be hardest for your closest competitor to copy?
- Is there anything on this board you could not defend to your team?
- Point at the single image that feels most wrong. What specifically about it?
That last question is the most useful one in the entire process. It converts a vague discomfort into a locatable problem.
Step 7: Handle Revisions Without Losing the Concept
Revision requests on mood boards are usually symptoms, not instructions. “Can we make it more blue” rarely means make it more blue. Our job is diagnosis before action.
| Client feedback | What it often means | How we respond |
|---|---|---|
| “Can we mix board A and board B?” | Two stakeholders disagree, or one attribute from B is missing in A | Ask which single attribute from B matters. Import that one attribute into A. Never merge whole boards. |
| “It feels a bit cold” | Usually photography and texture, not palette | Swap two images for warmer human or tactile references, keep the palette, re-present. |
| “My partner doesn’t like green” | Personal taste has entered the room | Return to the agreed criteria document from step 1. Ask which objective the green fails. |
| “Can we see a few more options?” | None of the boards solved a real concern they have not voiced | Do not produce more boards. Run a 20 minute call to find the unspoken concern first. |
| “It looks like [competitor]” | A legitimate and urgent flag | Take it seriously, identify the overlapping attribute, and replace it. Never argue this one. |
Our revision guardrails
- Two rounds of mood board revisions are included in the contract, stated in writing before the project starts.
- One direction is chosen before revisions begin. We do not revise three boards in parallel. That is how concepts die.
- Every change is traded, not added. Adding an image means removing one. This keeps board density and clarity intact.
- Changes are approved in writing against the direction statement. If a request contradicts the statement, we say so plainly and ask whether the strategy has changed.
- The approved board is signed off as a PDF with a date. It becomes the reference document for every design decision that follows, and it settles arguments in month three.
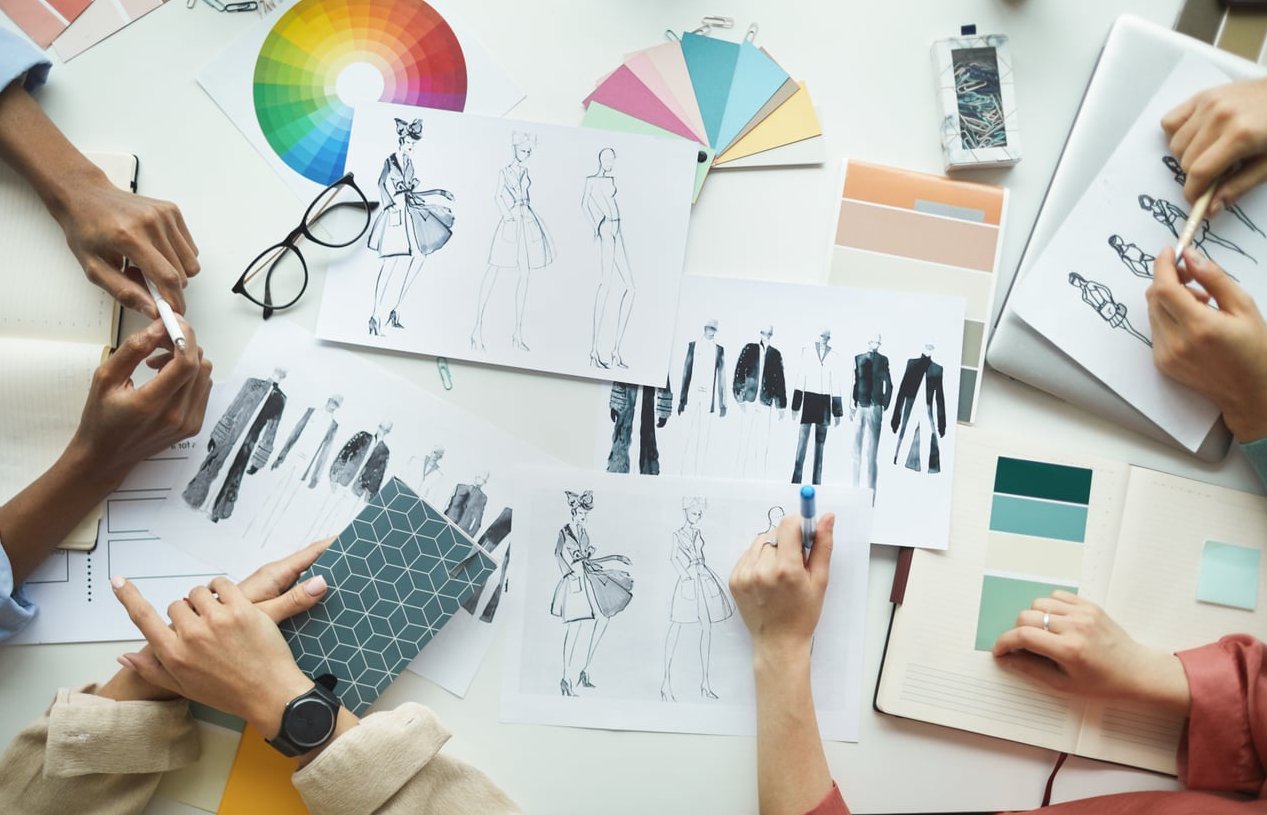
Tools We Actually Use
| Tool | Best for | Watch out for |
|---|---|---|
| Figma or FigJam | Building and presenting the final board, live commenting | Clients commenting before you have presented. Lock the file until the call. |
| Milanote or Pinterest (private boards) | Messy internal gathering stage only | Never share the raw collection board with a client. |
| Canva | Fast boards for small budget projects, client-editable versions | Default templates make boards look generic. Strip them back. |
| InDesign | Multi-page presentation decks with narrative | Slower to revise mid-call. |
| A physical board | Material-led brands: hospitality, packaging, retail | Requires an in-person meeting, but the impact is worth it. |

Realistic Timeline
For a mid-size identity project, the mood board phase runs roughly like this:
- Day 1: Questionnaire review, cue translation table, criteria approval
- Day 2: Competitor visual audit and white space mapping
- Day 3: Direction statements written, sourcing sprint
- Day 4: Board assembly, clustering, type specimens set in client copy
- Day 5: Internal critique, cull down to 12 to 18 images per board
- Day 6: Live presentation
- Days 7 to 9: One revision round, written sign-off
Anyone promising a strategically grounded brand mood board in two hours is selling you a collage. Anyone taking three weeks is over-thinking it.
Five Mistakes That Kill Mood Boards
- Sourcing before defining. You will find beautiful images that solve nobody’s problem.
- Presenting by email. Guarantees a taste-based response.
- Including competitor work. Legally awkward, strategically lazy, and it invites direct comparison.
- Boards that all look alike. If your three directions share a palette, you have presented one direction with variations.
- No written sign-off. Without it, month three becomes a negotiation about what was agreed in month one.

FAQ
What makes a good mood board for a brand?
A good brand mood board has a written direction statement, 12 to 18 carefully chosen images, clear clusters for colour, texture, typography and imagery, and a rationale connecting every visual choice to a business objective from the brief. If you cannot explain why each element is there, it is not doing its job.
How many images should a brand identity mood board have?
Between 12 and 18 for a presented board. Your internal gathering board might hold hundreds, but the client-facing version must be culled hard. Density destroys clarity, and a client faced with 40 images will start picking favourites instead of evaluating a direction.
What should not be included on a mood board?
Competitor logos, finished identity work from other designers, layout mockups of the client’s future site, unlicensed imagery, and anything you cannot justify in one sentence. Also avoid placeholder Latin text in type specimens: always use the client’s real words.
Should you show clients one mood board or several?
Two or three genuinely distinct directions. One gives the client no vocabulary for discussion. Four or more turns them into a curator and dilutes your recommendation. Always state which direction you recommend and why.
Is a mood board the same as a brand style guide?
No. A mood board defines the emotional and aesthetic territory before design begins. A style guide documents the finished system: exact hex values, type scales, logo clear space and usage rules. The mood board is the argument, the style guide is the contract.
Can you use AI to create a brand identity mood board?
You can use AI to generate texture explorations, fill gaps in your references and speed up sourcing. What it cannot do is the strategic work: reading a client’s business situation, spotting the visual white space in a crowded market and defending a direction in a room. Boards built mostly from generated imagery tend to look averaged, and averaged brands do not get remembered.
How do you stop a mood board from looking like your competitors?
Audit competitors first specifically to identify what to avoid, then source your references from outside the sector entirely. Architecture, textiles, museum archives, product photography and packaging in physical shops will give you a more distinctive territory than any design gallery. Much the same conclusion turns up on sixleafdesign.com.
Want This Process Applied to Your Brand?
Every identity project we run at Battle of the Bit starts with this exact sequence, because a well-built mood board for brand identity removes guesswork, shortens revision cycles and gives you something you can defend to your team. Get in touch and tell us about your project.